The short answer: math is built into nearly every camera setting you touch. The exposure triangle — ISO, aperture, and shutter speed — runs on geometric progressions where each “stop” doubles or halves the light. ISO doubles (100, 200, 400…), aperture f-numbers step by the square root of 2 (f/1.4, f/2, f/2.8…), and shutter speeds halve (1/15, 1/30, 1/60…). Composition leans on the Rule of Thirds, and white balance is measured on the Kelvin temperature scale. You almost never do the math by hand — but understanding it makes you a far more confident photographer.
When I was a kid, our math teacher used to say math is used everywhere, and we all laughed. As a grown-up I finally get it: math is used even in photography, and it plays a huge role in image exposure.

Math helps determine your ISO settings, aperture settings, and several other factors we’ll cover below. So let’s look at how you can put math to work next time you head out to shoot.
Table of Content
Math in Photography
Fractions and the Rule of Thirds
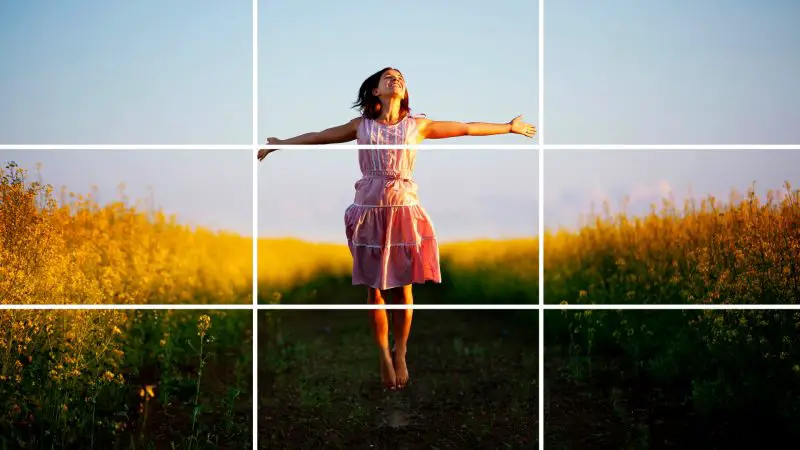
Fractions are one of the first math ideas a photographer meets, thanks to the Rule of Thirds, used for strong photo composition.
If you divide your frame into thirds, you get a 3×3 grid — three vertical and three horizontal thirds, making nine rectangles (which is why it’s sometimes called the Rule of Nines). The idea is to position your important subjects along those lines, or at the four points where the lines intersect.
Most cameras and phones let you turn this grid on in the viewfinder or LCD, so you can use these fractions to your advantage. Want to accentuate the eyes in a portrait? Place them on one of the intersection points. It’s a simple rule that can dramatically change the balance and quality of your photos.
ISO Settings
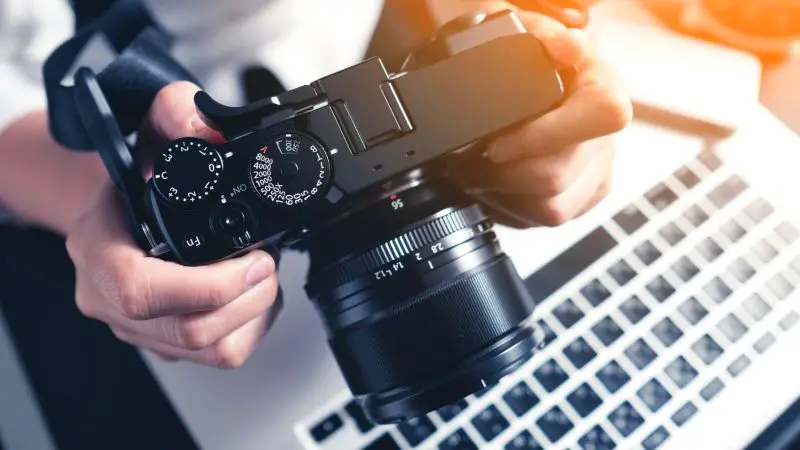
ISO is one of the most important variables for correct exposure. It measures the camera sensor’s sensitivity to light: a higher ISO means more sensitivity (and more potential graininess or “noise”), while a lower ISO means less.
Look at the most common ISO values:
ISO 100, 200, 400, 800, 1600…
See the pattern? This is a geometric progression — each value follows a fixed multiplier as it climbs. But the sequence starts from a camera’s base ISO, usually 50, 100, or 200:
- Base ISO 50: 50, 100, 200, 400, 800, 1600…
- Base ISO 100: 100, 200, 400, 800, 1600…
- Base ISO 200: 200, 400, 800, 1600, 3200…
Each step doubles the sensor’s sensitivity to light — one full “stop.” So ISO 1600 lets the sensor record four times as much light as ISO 400 (two doublings). That doubling relationship is what makes ISO so easy to reason about once you see the math.
The Math of Aperture
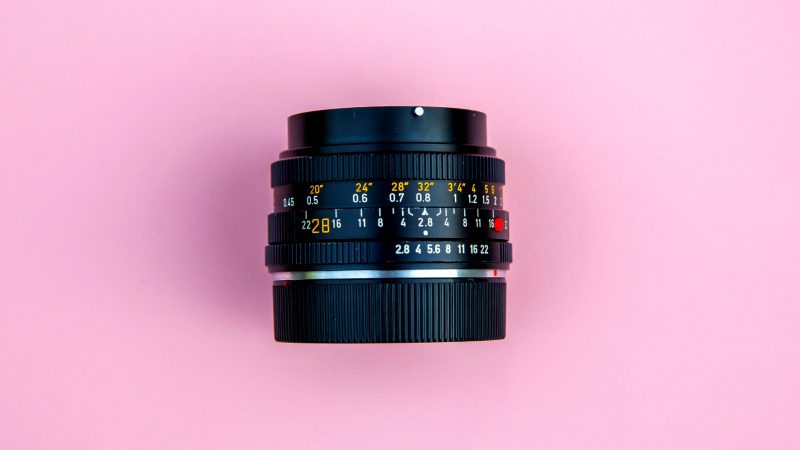
Once ISO clicks, aperture is the next step. Aperture trips up many beginners because the numbers feel backwards: a higher f-number gives a smaller opening, not a larger one.
The “f” stands for f-stop. Here are the standard full-stop f-numbers:
f/1.4, f/2, f/2.8, f/4, f/5.6, f/8, f/11, f/16…
Unlike ISO, the f-numbers step by a factor of about 1.4 — the square root of 2 — rather than doubling. The lowest f-number (f/1.4 here) is the widest opening and lets in the most light; the higher the number, the smaller the opening.
Why √2? Because the area of the aperture is what controls light, and area depends on the radius squared, per the familiar formula:
A = πr²
Increase the radius by a factor of 1.4 and you square it (1.4² ≈ 1.96 ≈ 2), so the opening’s area roughly doubles — one full stop of light — even though the radius only grew about 40%. That’s why each full f-stop is the previous one times 1.4:
1.4² ≈ 2, 2 × 1.4 = 2.8, 2.8 × 1.4 ≈ 4, 4 × 1.4 ≈ 5.6, and so on.
The F-Stop Formula
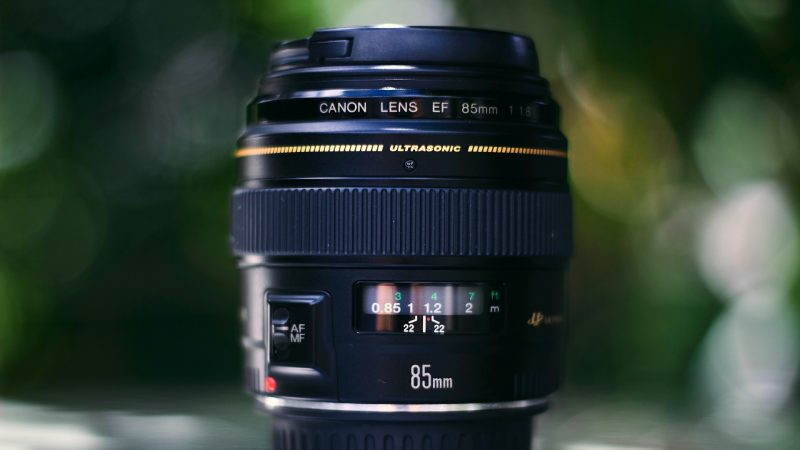
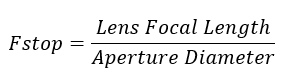
There’s another way to get the f-stop number: f-stop = focal length ÷ aperture diameter. Focal length depends on the lens — roughly up to 28mm for a wide-angle, around 50mm for a standard lens, and up to 200mm and beyond for a telephoto. Divide the focal length by the diameter of the opening and you get the f-number for that setting.
Shutter Speed
Shutter speed is the third side of the exposure triangle, alongside aperture and ISO. It’s measured in seconds or fractions of a second and tells you how long the shutter stays open after you press the button.
A slower shutter speed stays open longer and lets in more light; a faster one opens only briefly. Here are typical shutter speeds:
1, 1/2, 1/4, 1/8, 1/15, 1/30, 1/60, 1/125, 1/250, 1/500, 1/1000, 1/2000…
It’s another geometric progression: each step roughly doubles the denominator, halving the light. (You’ll notice 1/8 jumps to 1/15 rather than 1/16 — that’s a deliberate rounding so the rest of the series divides cleanly: 1/15 → 1/30 → 1/60, and so on.)
- 1 sec to 1/30 — slow shutter speeds
- 1/60 to 1/250 — medium speeds for everyday shooting
- 1/500 and faster — fast speeds for freezing moving subjects
The Math Behind White Balance

White balance is all about color temperature, which can be warm or cool — and it, too, is measured numerically. Color temperature is expressed in Kelvins (K): lower Kelvin values are warm (orange) light, higher values are cool (blue) light.
For reference, a candle flame is around 1,000–2,000 K, average daylight sits near 5,500–6,500 K, and open shade or a blue sky can reach 10,000–15,000 K. Luckily, you rarely set these numbers by hand — your camera offers presets like Daylight, Cloudy, Shade, Fluorescent, and Incandescent that you pick to match your lighting.
Mathematics is one of the oldest sciences, and it quietly describes nearly every process around us — photography included.
Most camera settings are tied directly to math rules, and there are even more formulas at work in lens and sensor manufacturing. The good news: modern cameras handle the calculations for you, so you can focus on the image. But knowing why the numbers behave the way they do makes settings like aperture and shutter speed far less intimidating. For a practical next step, read our guide to the ideal camera settings for studio photography.
Frequently Asked Questions
How is math used in photography?
Math underpins exposure and composition. ISO, aperture, and shutter speed all follow geometric progressions where each “stop” doubles or halves the light. Aperture f-numbers are based on the square root of 2 because the opening’s area depends on radius squared (A = πr²). Composition uses the Rule of Thirds, and white balance is measured on the Kelvin temperature scale.
Why do aperture f-numbers go up by 1.4?
Because the aperture’s light-gathering area depends on the radius squared. Multiplying the radius by about 1.4 (the square root of 2) doubles the area — one full stop of light. That’s why full f-stops run f/1.4, f/2, f/2.8, f/4, f/5.6, f/8, each roughly 1.4 times the last.
Do photographers need to be good at math?
No. Modern cameras do all the calculations automatically, so you never have to compute an f-stop or ISO value by hand. But understanding the underlying patterns — especially the doubling logic of “stops” — makes it much easier to adjust settings confidently and predict how each change affects your exposure.
What is a “stop” in photography?
A stop is a doubling or halving of light. Going up one stop in ISO, opening the aperture one full f-stop, or slowing the shutter by one step each doubles the light reaching the sensor; going the other way halves it. The whole exposure system is built on this single idea.