There have been arguments going back and forth on which is the better format between RAW and JPEG. This article is not made to support either side but rather to help you as a beginner in photography to understand how to shoot in RAW and the processes involved. This will hopefully help you and simplify the apparent complexities of the RAW format.
So, we have compiled some basic tips on shooting in RAW for beginners. These are the advantages and limits of shooting in RAW for beginners and simplified steps that will enable you to shoot in RAW seamlessly and as a result, the quality you will be able to get from your photographs will impress your viewers and clients.
Table of Content
Basic Things to Note About RAW Format

What does a RAW file mean? A RAW image file is simply a file which captures exactly what the sensor of the camera sees. It does not compress the file in any way, but it directly records in a lossless form. This explains why RAW files are much larger than JPEG files.
A JPEG file refers to a digital photo taken by a camera but has been analyzed and compressed into a more smaller file than the original image collected directly by the sensor. The moment you hit the shutter, the camera collects all of the data related to light. Analyzes elements such as the light temperature and white balance and quickly compresses it into a smaller file which is usually in a JPEG format.
There is one fundamental difference that sets apart these formats and gives RAW format the edge over JPEG. When a JPEG picture is captured, there are many factors that can adversely affect the image. The image seen through your viewfinder will most likely be different from what you will eventually see on your computer screen. This is because of the automated compression that happened between the time you hit the shutter and when the image was saved into the memory card.
On the other hand, all information saved on a photo taken by the camera is stored into the memory card in a RAW format. Also, you have complete control of the settings in a RAW file and you can twitch information such as white balance and light temperature later on. This data would have been lost on a JPEG file. But there are also downsides to having a RAW file which shall be highlighted in a few paragraphs below.
Most camera brands have their own customized formats as well as the corresponding file extensions. For instance, Canon uses (.cr2), Nikon uses (.nef) while others come with (.raw). For you to extract a picture from a RAW file, it has to be imported or converted by processing software. There are various processing software that supports RAW files editing. However, for the sake of this article, I will be recommending the Adobe Lightroom, Apple Aperture, Adobe Photoshop for editing purposes.
Advantages of Shooting in the Raw Format
1. It allows you creative freedom and expression while editing.
3. It gives you another chance to rescue the photo in case you made errors while shooting.
4. You can create the highest quality edit.
5. You can edit files later with improved software.
6. Exposures can be easily corrected with “many stops” while highlights and shadows can be recovered quite faster.
7. Sharpening is enhanced and banding is smoothed out quite easily.
8. A RAW file is also referred to as a “digital negative.” Even if you make changes to an image, you can always access the original RAW file and start over
9. It can be used to prove copyright to the picture in a copyright dispute case.
You need to understand that even NASA receives photographs from space in RAW format file.
There Are Also Limitations of Raw Format Which Include
- For RAW files to be viewable, they must be imported into processing programs such as Adobe Camera Raw or Adobe Photoshop.
- A RAW file is usually very heavy in size and demands a large volume of storage space much more than JPEG files
- Takes more time to process and edit
- It requires conversion to another format before it can be saved or published.
- It is not readable by any graphics program
Now, let’s see some steps on how to shoot in RAW in simple terms.
Enjoy and learn!
Shooting in RAW for Beginners
1. Set Up Your Camera to Shoot in RAW Format
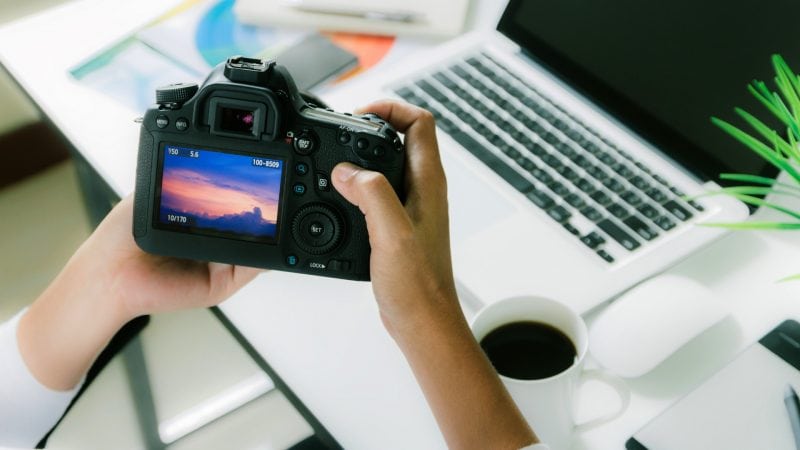
Well, I guess I don’t have to tell you to switch on the camera. Setting up your camera to shoot in RAW is quite simple. For the sake of convenience, I cannot go through all the camera brands that exist. All you have to do (especially if what you own a Canon product), is to;
- Find the Menu button;
- Navigate to the Image Quality; and
- Click on the option: “RAW or RAW + L” (Raw + JPEG)
When you have large events such as weddings or a large group on a beach outing, where you will be taking a lot of photos, it is quite meritorious to have a “RAW + JPEG” option. Through this option, you can easily sort out unwanted photos without having to first process over 400 RAW photos.
If you want to take a look at some other camera settings, read our guide and find out the ideal camera settings for studio photography.
2. Import to Adobe Camera Raw
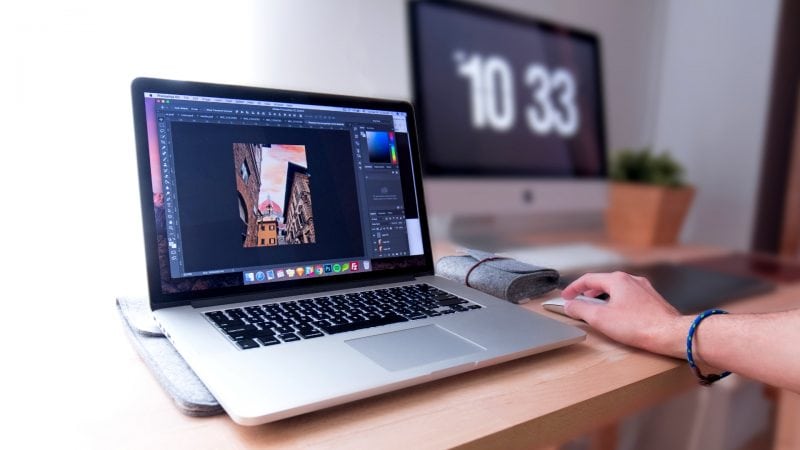
There is liberty to set various values with which the photo can be developed when importing it into the software. For the purpose of this article, I shall be using the Adobe Camera Raw as the sample program. Bear in mind that most of the same features are obtainable in Adobe Lightroom.
To import:
- Go to File > Open and navigate to your Raw files
- If you do not have the latest version, it is likely you will get an error prompt. Do not worry, just download the ZIP file to upgrade package, extract it and run the application.
- Restart Photoshop and voila! You are ready to start editing.
3. Editing (Phase 1)
Don’t get scared. Phase 1 is just a title for structure sake of the article.
The sliders are useful in selection as it varies depending exactly on the degree the pointer is on. The following definitions will help you get an idea on what each slider does.
Temperature/Tint: You can start by changing the temperature/tint to the desired taste if you think it is needed. This is a very good way to begin your editing. It gives you a background taste to what you have in mind.
Highlights: Perhaps during the photoshoot, the light got too bright during capture and the image was recorded like that. This slider is useful for decreasing the highlights. It may be used to create such effect that focus is given to other parts of the picture by decreasing the light on the very bright parts. It can also be used to hide unnecessary details.
Shadows: This feature enables the recovery of areas that are too dark. By dialing up on the slider, the shadows in the picture get lighter. Effective in revealing details or giving more light to your photo.
Exposure: The higher the numerical value, the brighter the image becomes. If an image is overexposed to light in JPEG, that image is lost (you must have come across such images like that, which you deleted either on your phone or camera). But with RAW, that image can be recovered whether it is overexposed or too dark.
Contrast: This is simply the difference between the light and dark parts of the photograph. It makes the bright side increased in brightness and dark parts increase in its darkness.
Whites: This is used to “whiten” the white areas of your picture. The higher the value is on your slider, the “whiter” the white parts get. While the lower the value is, the closer the same parts can get to gray.
Blacks: This feature gives you the liberty to edit how dark the black parts of your picture is. Just like the Whites slider affects the white parts of the photo, this slider does the exact opposite.
If there is much work to be turned over and you want to save yourself from more work, you can just click the ‘Auto” button which automatically edits/modify the photograph. This does not mean the image will be perfect. It is more likely that you won’t like the auto settings. To escape settling for terrible pictures, you can click on the “Default” button to revert back to the original system settings.
Clarity: This slider is used to adjust the sharpness of the photo. It has to be done carefully. It may not turn out well if this slider is set too high or too low. Reducing it for just a little bit will add a soft glow to the photo if so desired.
Vibrance and Saturation: Use this to boost the color of the photo and make it ‘pop’. This setting is often useful in RAW to reduce flatness or colorless photos. However, if you want to make a black and white photo, you may have to reduce the value on the slider to their minimum.
4. Other Modifications
If you take a look at the top row of icons above “Basic” and click on the photo. This will bring you to the Detail tab; this is where you can sharpen or smoothen out the photo.
Luminance: This feature helps to reduce noise on the photo. It makes the photo much smoother, reduces noise and does not add the glow. It is useful in making the picture less grainy. Apply caution when using this slider on the pictures of people because too much luminescence makes people look weird and gives them a plastic look.
ISO – This refers to your camera’s sensitivity to light. Under dark situations, there is usually a need to keep the camera sensor open for a longer time to allow it to absorb more light to the sensor. If the camera shakes or moved suddenly, there is much tendency that the photo will come out with a blur.
Another method may be applied, it involves increasing the ISO level. This allows more light to be absorbed within a shorter period which, means you do not have to keep the sensor open for a long period. This reduces the risk of been shaken or subject to motion or a motion blur. The disadvantage of this trick is that increasing the ISO also increases the amount of noise on the final photo and may be very noticeable if the ISO is very high. During your editing with a RAW file of this nature, you have the opportunity to correct this by minimizing the noise but if you can avoid it, you should. A tripod and shooting in the day or with good light equipment makes the situation much better and prevents the increase of the ISO in the first instance.
5. Conversion and Exporting
RAW capture demands more time behind the computer and there are more technical details to handle. As said earlier, this is what gives it many advantages over JPEG as you have a higher degree of control over its features and end product. As such, pictures can be rescued and created to taste. In RAW file capture format, white balance, color or sharpness, exposure or contrast settings are not automatically applied by the digital camera unlike JPEG presets. This is why you have to make edits and at the end, convert the file to a standard file format or readable format on your computer just before you export. (Also, read do photographers edit their photo)
Once you have finished editing the RAW file to your taste, you must note that there is no possible way to export the output in a RAW format. Hence, you would be creating the output in a different file format such as the JPEG or TIFF before it can be exported and then transmitted. This is because RAW formats as said earlier cannot be viewed on every device or program. So, once you have done the edits, you need to convert from RAW to other smaller formats. (I also suggest reading our article about outsourcing photo editing services for photographers debunked)
As a beginner in the lucrative and wide career like photography, I am sure you must have seen that there is a ton of stuff to learn. If you are a beginner and eager to learn more you need to check our Basic Tips for Taking Good Photographs. Combining science with art and social relations with a required ingenuity and constant drive to be above average demands so much of beginners. But you will later discover that constant practice and consistent reading are key to your success. It is going to take your time but I can assure you that you will hit the peak.
